Power Automate for individual group notifications
Heads up! This information might be outdated since it was last updated over a year ago. Please double-check the information before relying on it.
Using Power Automate, and Flow Bot to send individual notifications to members of a Team - and fall back to email. If you’re like me, you probably wish you got less email! But, equally, you don’t want to tag a whole group of people in Teams either - starting a whole discussion.
Sometimes I find myself needing to send an urgent message to a group of people, but I want to make sure each individual gets it as a message.
So, I thought I’d share a handy approach to this using Power Automate, in case this comes in handy for you!
Caveat: make sure you don’t overuse this, or send notifications to an overly broad set of users. Over communication can switch your users off from your messages!
Context
At my organisation, we’re currently having an internal competition - right now, we’re competing for the most steps! This has really brought out that team spirit, but some people are pretty busy.
Sending a notification to people that haven’t had the time to log their steps is the perfect type of notification to send via Teams - short, sharp, targeted, and actionable.
What does this use?
I’ll be using the Microsoft Teams connector for Power Automate. I’ll send an Adaptive Card to a user from the Flow Bot, with an actionable link - falling back to an email if the Flow Bot is blocked. (One reason not to spam your users!)
Adaptive Cards allows us to write JSON snippets, which are then translated into the native UI of the platform that your message is being received in. TODO: Add caption.
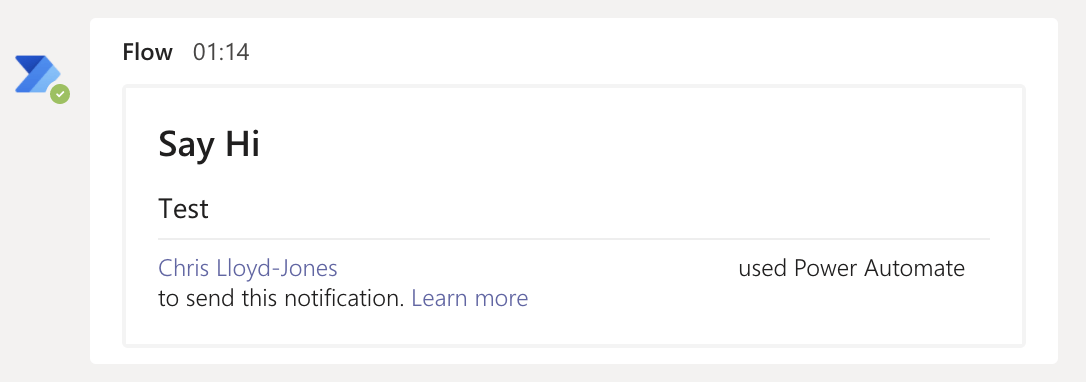 An example of a very basic Adaptive Card, just saying hi!
How do we do it?
I’ll assume you have some basic familiarity with Power Automate - and if not, Microsoft has just released a ’30 days to learn it’ learning path for the Power Platform, which covers just these topics!
At a high level, the process is this:
- Get the users in a group.
- Set a template for the adaptive card, the email fallback, and choose the title.
- Loop through the users, and try to send the adaptive card.
- If the user has the bot blocked, send the email.
I’ll be using a recurring trigger, so I can send this on a weekly basis. In the real-life scenario, I’m also checking to see if the user has posted steps - I’ve omitted that here for clarity.
Setting up the automation
I’ve gone to flow.microsoft.com and logged into my account.
I’ll click ‘Create’ on the left-hand side and choose ‘Scheduled cloud flow.’
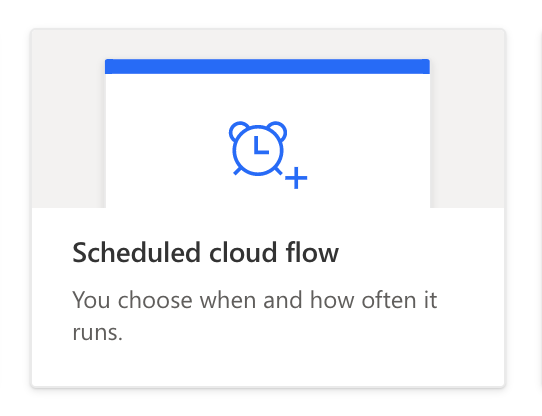 This scheduled cloud flow option lets you select a recurring frequencyComplete the form and select how often you’d like the flow to run. TODO: Add caption.
Defining your messages
Before we go any further, it’s worth figuring out what messages you’ll send.
Adaptive Card
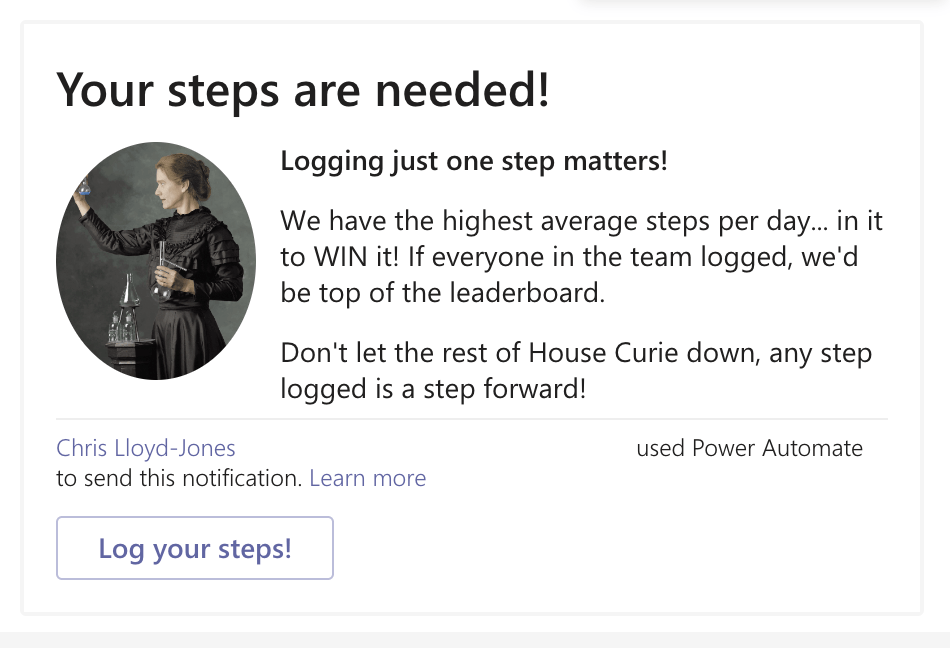
My adaptive card has a title, a short description, and a button for the user to take action.
 There are tons of samples to choose from on the adaptive cards site - and you can click ‘Try it yourself’ to edit a card in a WYSIWYG editor.
You can see the code for my card here:
{
  "type": "AdaptiveCard",
  "body": [
    {
      "type": "TextBlock",
      "size": "ExtraLarge",
      "weight": "Bolder",
      "text": "Your steps are needed!"
    },
    {
      "type": "ColumnSet",
      "columns": [
        {
          "type": "Column",
          "items": [
            {
              "type": "Image",
              "style": "Person",
              "url": "https://demeliou.files.wordpress.com/2012/11/marie-curie.jpg",
              "size": "Large"
            }
          ],
          "width": "auto"
        },
        {
          "type": "Column",
          "items": [
            {
              "type": "TextBlock",
              "weight": "Bolder",
              "text": "Logging just one step matters!",
              "wrap": true
            },
            {
              "type": "TextBlock",
              "text": "We have the highest average steps per day... in it to WIN it! If everyone in the team logged, we'd be top of the leaderboard.",
              "wrap": true
            },
            {
              "type": "TextBlock",
              "text": "Don't let the rest of House Curie down, any step logged is a step forward!",
              "wrap": true
            }
          ],
          "width": "stretch"
        }
      ]
    }
  ],
  "actions": [
    {
      "type": "Action.OpenUrl",
      "title": "Log your steps!",
      "url": "https://www.google.com"
    }
  ],
  "$schema": "http://adaptivecards.io/schemas/adaptive-card.json",
  "version": "1.2"
}
The key point here is the button - created right at the bottom, as an Action.OpenUrl type. You’ll also notice that my adaptive card doesn’t separate the data from the template, as the Flow Bot currently doesn’t support this.
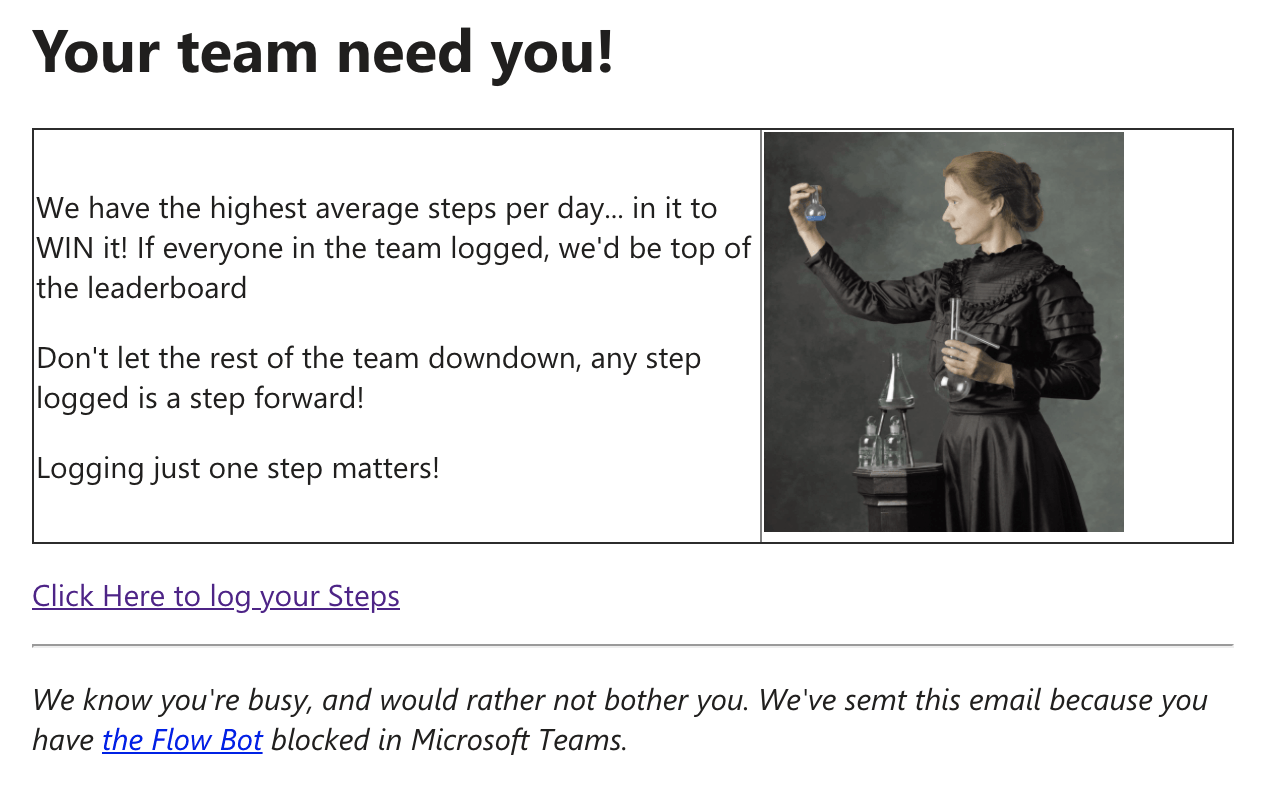
I used an online HTML editor to create a very basic email template, with the same call to action - as well as a short explanatory note as to why the user is receiving the email.
You can see the HTML I used here:
<h1>Your team need you!</h1>
<table style="border-collapse: collapse; width: 100%;" border="1">
<tbody>
<tr>
<td style="width: 60.634%;">
<p>We have the highest average steps per day... in it to WIN it! If everyone in the team logged, we'd be top of the leaderboard</p>
<p>Don't let the rest of the team downdown, any step logged is a step forward!</p>
<p>Logging just one step matters!</p>
</td>
<td style="width: 39.366%;"><img src="https://demeliou.files.wordpress.com/2012/11/marie-curie.jpg" alt="" width="180" height="200" /></td>
</tr>
</tbody>
</table>
<p><a href="dummylink">Click Here to log your Steps</a></p>
<hr />
<p><em>We know you're busy, and would rather not bother you. We've semt this email because you have <a href="https://flow.microsoft.com/en-us/blog/microsoft-flow-in-microsoft-teams/">the Flow Bot</a> blocked in Microsoft Teams. </em></p>
Here’s what the user would receive:
 An email from the automationAssuming the title is pretty explanatory, I’ll create three compose actions, and add in my adaptive card, my email, and my title. TODO: Add caption.
#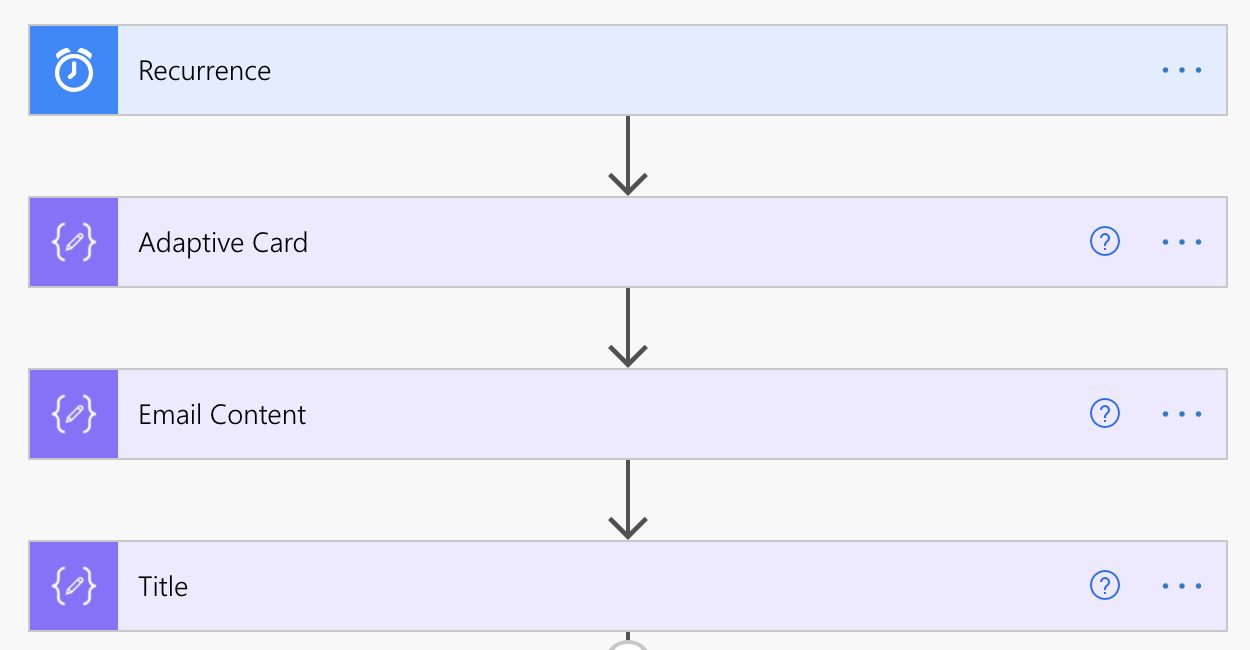 You can see the recurrence trigger, the adaptive card, the email content, and the title. TODO: Add caption.
Looping over the users
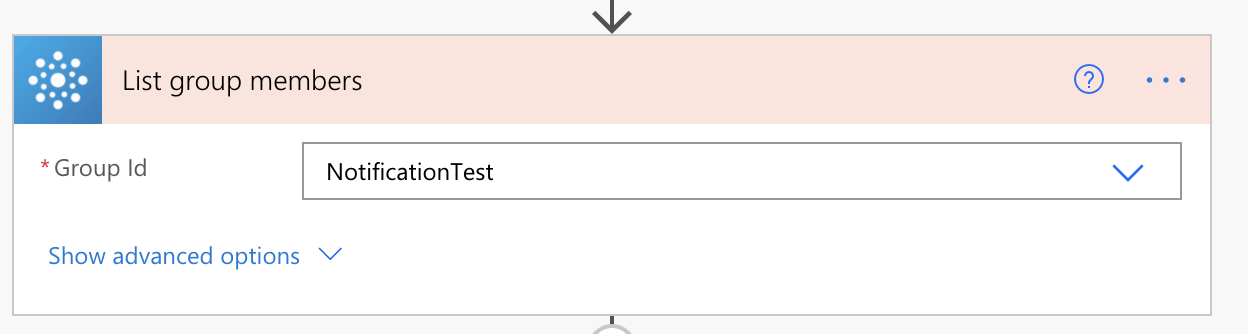
Now we need to get all of the users in the group I want to message, and then iterate over them!
I use the ‘List group members’ connector to get the users in the group.
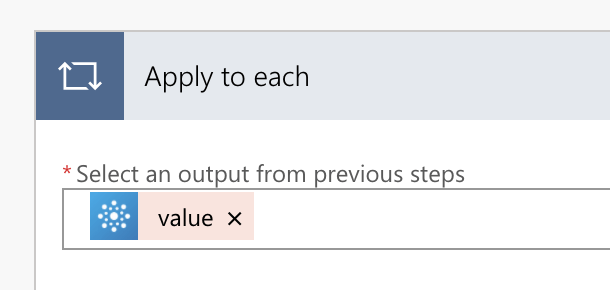
 I then create an ‘Apply to each’ action, and add the ‘value’ of the ‘List group members’ action to the selected output.
 Sending the messages - and the fallback
The Adaptive Card
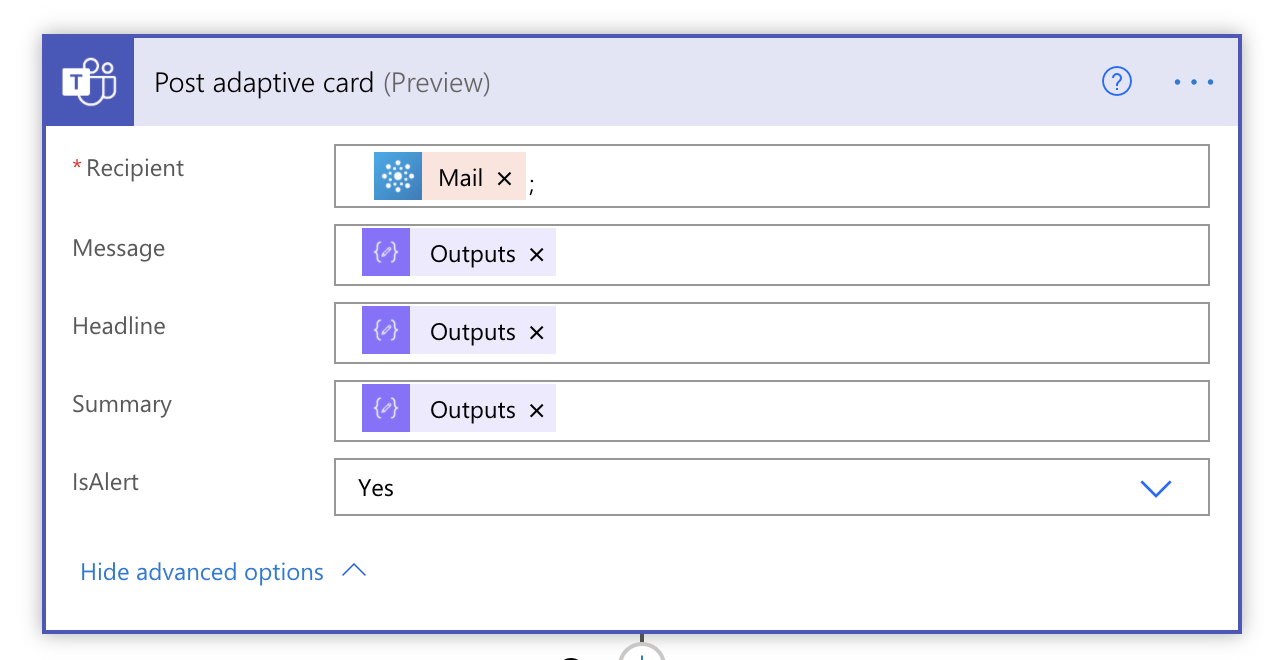
To send the Adaptive card, I search for the ‘Post your own adaptive card as the Flow bot to a user’ action, under the Teams connector.
 Once this is created, I insert the Mail variable, for the users email - and I then insert the data I pre-prepared, with the advanced options expanded.
- Recipient - Place the Mail output, with the users email
- Message - Place the Adapative Cards output
- Headline - I use the Title output
- Summary - I tend to use the Title output again
- IsAlert - I select ‘Yes’
 ### And… the email fallback
This is probably the trickiest bit, to be honest.
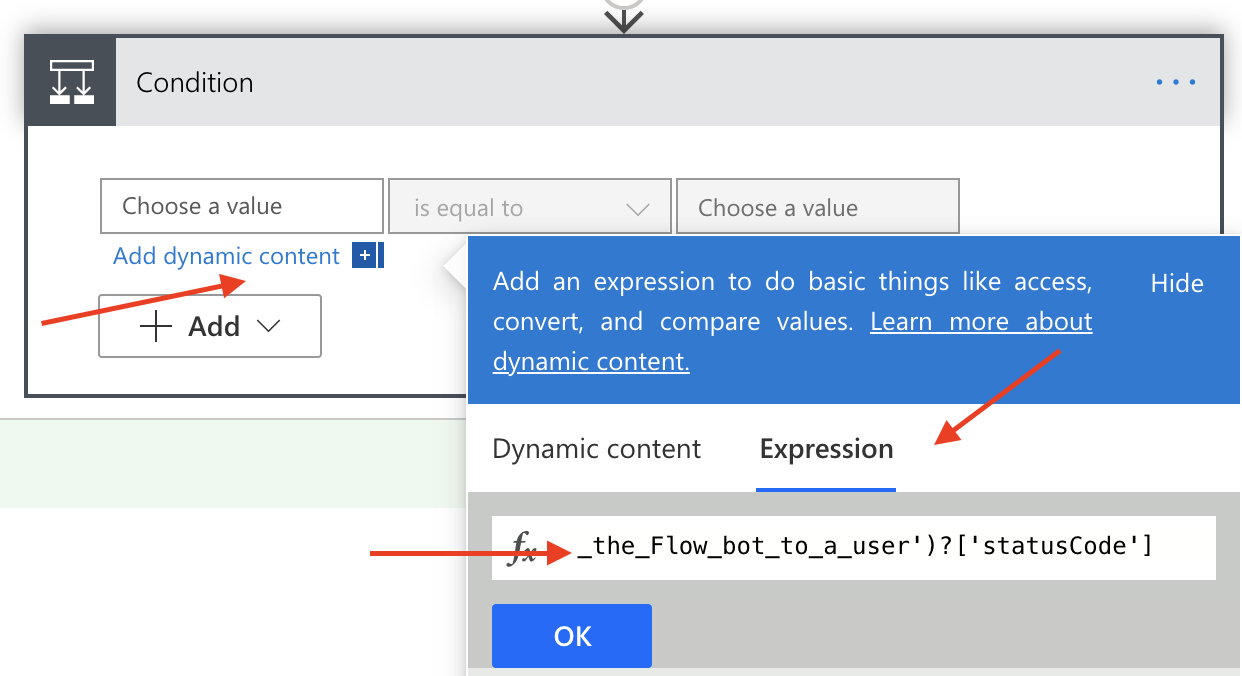
Create a ‘condition’ action, and in the left hand side of the condition, ‘Add dynamic content’, select ‘Expression’ and then enter outputs('Post_your_own_adaptive_card_as_the_Flow_bot_to_a_user')?['statusCode'] in the box. If you renamed the action after making it, you’ll need to update here too.
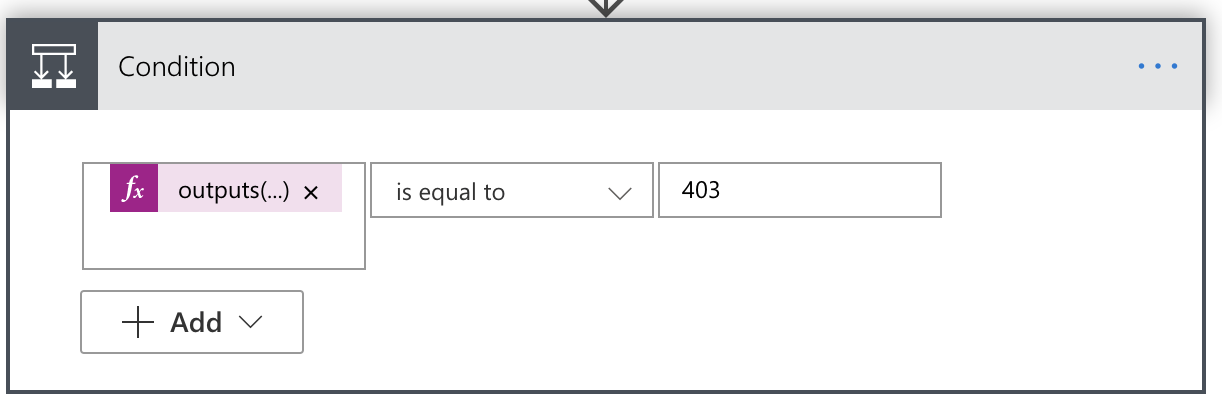
 Once that’s complete, enter 403 in the right hand side - so your condition should be checking whether the status code from posting via the Flow bot, is equal to 403.
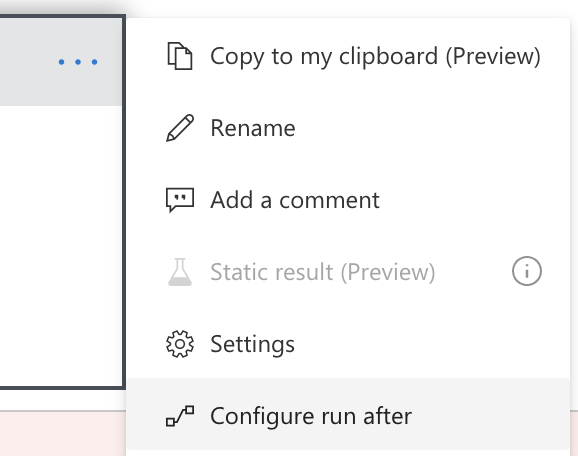
 Hit the ellipses ’…’ in the condition, and select ‘Configure run after.’
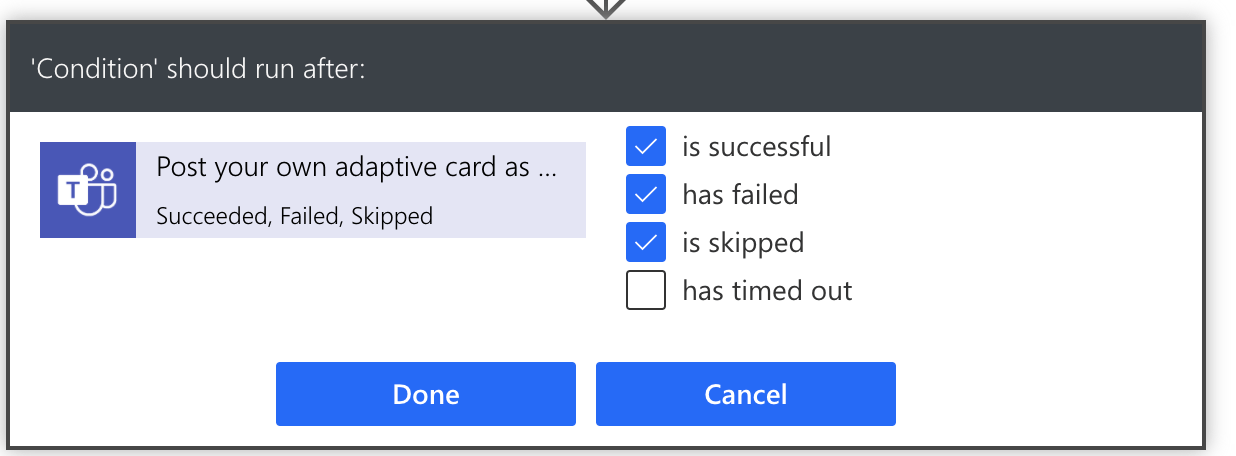
 Ensure the condition runs if the bot is successful, fails, or is skipped.
 Now, if the bot fails to send a message - because the user has blocked it - we should catch that error.
Sending the backup email
For this demo, I’ll use the ‘Send an email’ connector - but you may prefer to use the ‘Send an email from a shared mailbox’ connector.
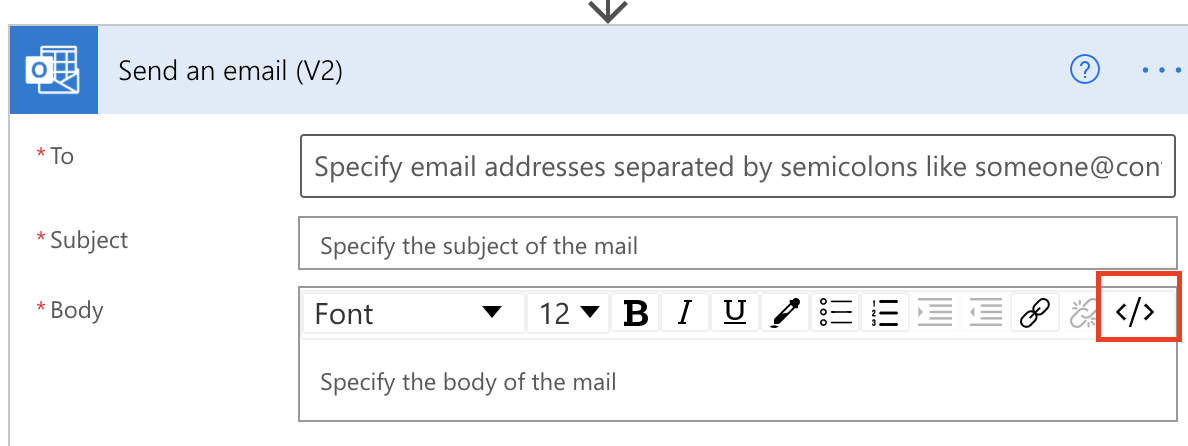
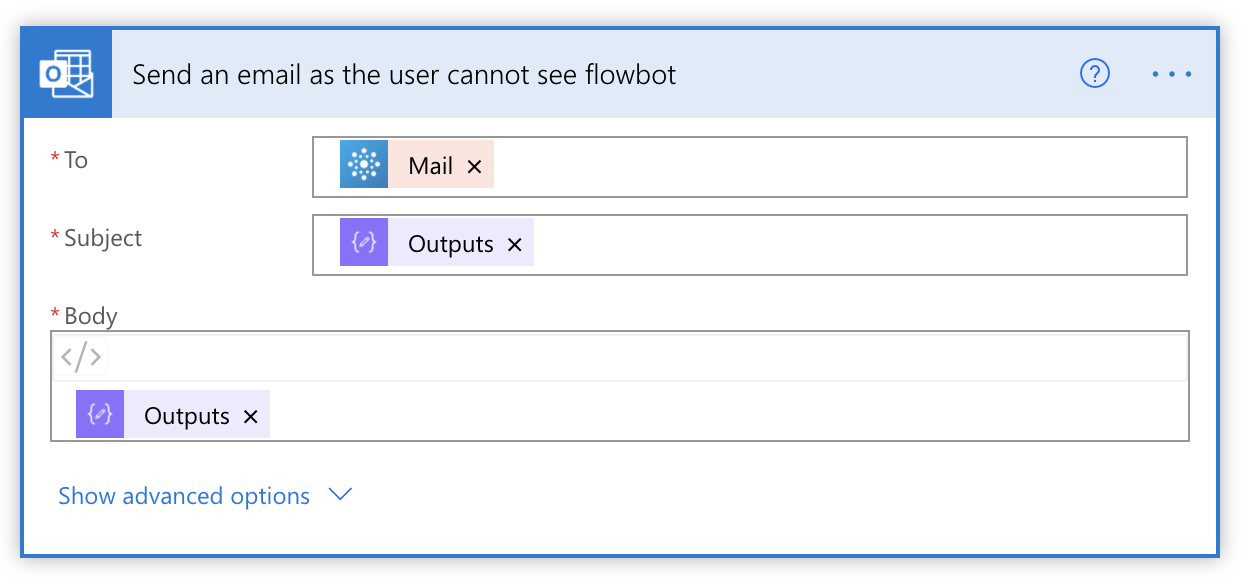
 Complete the connector, entering the ‘Mail’ output in the ‘To’ box, and the ‘Title’ output in the ‘Subject’ box.
Once complete, select the code icon, on the furthest right hand side of the WYSIWYG editor, to enter HTML entry mode.
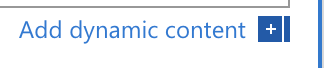
 Once you’re in the HTML editor mode, hit ‘Add dynamic content’, and then select the HTML email we created earlier.
 Time to run!
Now that you’ve pulled this all together, it’s time to try it out! I recommend testing this with a specially created Team just for this purpose, in case you want to tweak the formatting.
Make sure your flow is enabled, and then hit the Test button. Once the flow has finished running, you should see messages posted in the Run History.
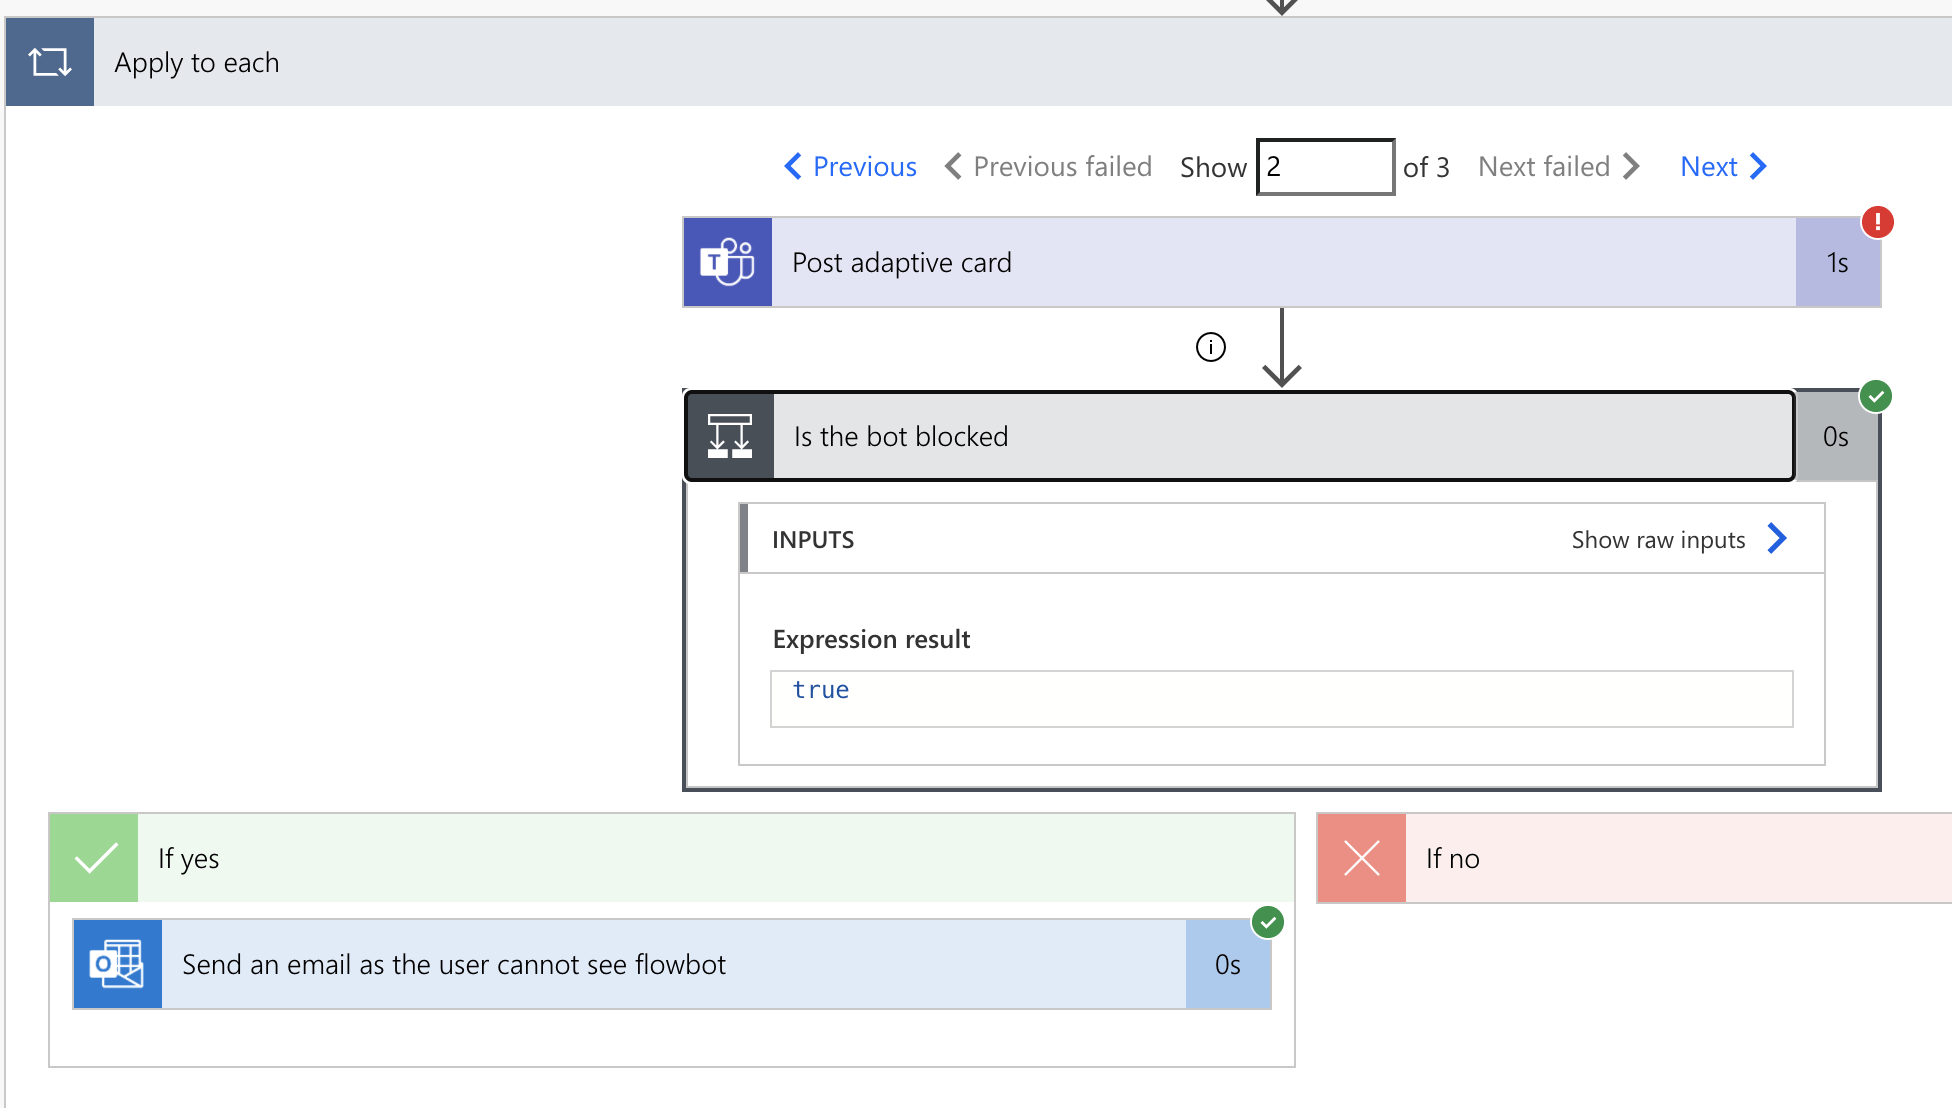
 For users that have blocked the bot, you’ll see the condition evaluate as true, and the fallback email will have been sent.
 Thanks for reading - and I hope you find this useful. Remember not to spam your users!
If you’d like something more involved, consider trying out Azure Cognitive Search!
Using Cognitive Search to make the law more accessible: Part 1Using Azure Cognitive Search to index UK Law going back to the 1800s, to make it accessible and comprehensible SealjayChris Lloyd-Jones