Using Cognitive Search to make the law more accessible: Part 1
Heads up! This information might be outdated since it was last updated over a year ago. Please double-check the information before relying on it.
In a previous blog post, I talked about the endless possibilities that Cognitive Search gives you, making various datasets more easily accessible.
Now, I’m going to show you how you can do this yourself, in a six-part blog series, covering Azure Cognitive Search, through to implementing a web application to display your results.
This is following the awesome work Microsoft has done to launch semantic search… and semantic answers!
I’ll be covering:
- (this blog post) Search - Creating an indexer for Azure Cognitive Search through the Azure portal
- Integration - Integrating Azure Cognitive Search with a Python Web Application, using the Azure SDK for Python
- Getting a Dataset - How the UK Legislation dataset was crawled and downloaded
- User Interface - Creating a layout for your web application using Tailwind CSS, making the most of Azure Cognitive Search features
- Infrastructure as Code - Deploying the entire solution using Pulumi and GitHub Actions
- Answers - How can we use Azure Cognitive Search to answer questions about the law using Semantic Search
If you want to skip to the end, the accompanying code repository is already freely available on GitHub.
Background
Azure Cognitive Search takes your data, wherever it may be - from SQL Server Data, through to Blob Storage, and SharePoint Online.
The power behind Azure Cognitive Search is in the “Document Cracking” - applying logic and AI enrichment to make information usable.
I selected UK Legislation for this demo, because it meets a few excellent criteria:
- It’s freely available for use under licence.
- It has a variety of document formats, including modern data (in PDF, XML, RDF, etc), through to scanned in images, embedded within PDF.
- It demonstrates the power of Cognitive Search - allowing us to ask questions about the law and figure out the answer.
 The ancient legislation from legislation.gov.uk, next to the application we’ll be building in this series. Image contains public sector information licensed under the Open Government Licence v3.0. TODO: Add caption ##Let’s get started!
To follow along, I assume you have access to a Microsoft Azure subscription or free trial; I also assume you have access to a dataset with some PDFs (in part 3, I’ll show you how to download my dataset.)
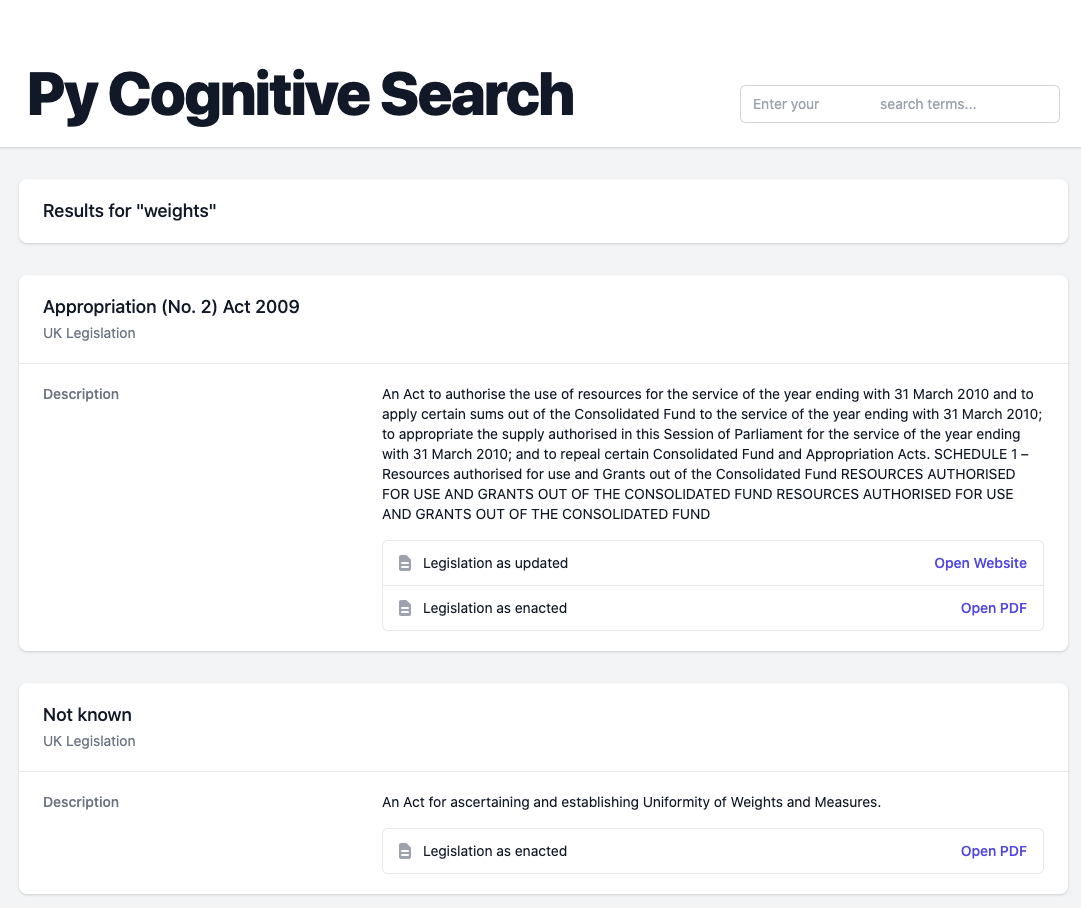
Create your Storage Account to be Indexed
As I mentioned, Azure Cognitive Search supports a variety of data sources. As we have PDFs, I’ll be creating an Azure Storage Account, and a Blob Storage container.
Azure Storage Accounts can be found within the Azure Marketplace. Choose your preferred options, then ‘Review + create’ your resource.
 I went with pretty standard defaults TODO: Add caption
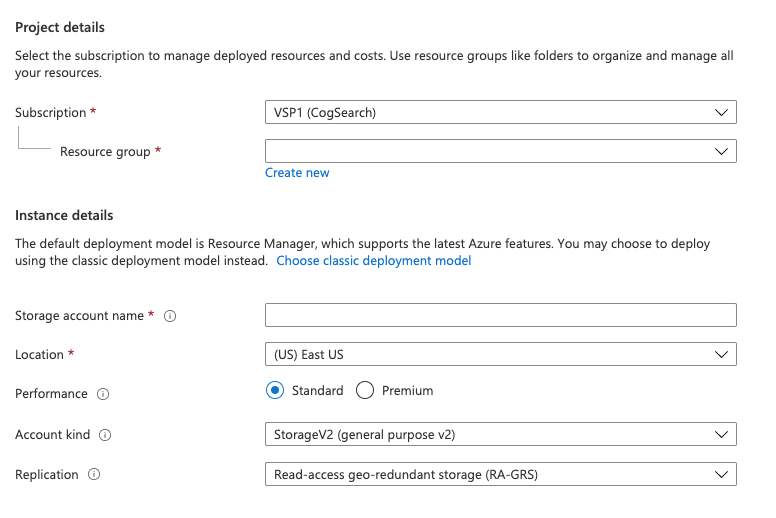
It will take a bit of time for your storage account to be provisioned - and once it is, you’ll need to create a Blob Storage container, to hold all of the files you intend to crack open!
I prefer to do this using the Azure Storage Explorer, a free application to manage Azure cloud storage resources, but you can also open up your new account in the portal. Click on ‘Containers’ under Blob service, and then click ‘Container’ and answer the questions which appear.
 Don’t forget to upload some PDFs into the container for indexing!
In part 3, I’ll show you how to download the dataset I’ve used - or you can skip ahead to the GitHub repo to copy the process.
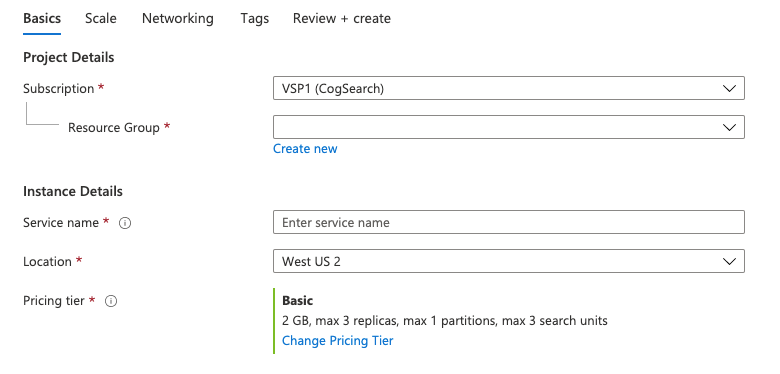
Create your Azure Search Resource
You can find Azure Cognitive Search in the Azure Marketplace.
For the purpose of this demo, I’ll be creating a ‘Basic’ search resource. Be aware that your search tier limits the maximum number of indexes you can create, the size and speed of your physical storage, as well as the cost implication. Microsoft have a great guide on their portal.
 When we come to part six of the series, Semantic Search (which will help us answer questions about the law) is only available for search services configured on a Standard pricing tier.
Pick your preferred location, tier, and choose a resource group - then ‘Review + create’ your resource.
Create your Data Source
Now that your search resource is up and running, we need to connect to the Blob Storage container which we created. Click on ‘Data sources’ and then ‘New Data Source.’
 Click on the ‘Data sources’ tab TODO: Add caption
A form will pop up, asking for more information about your data source.
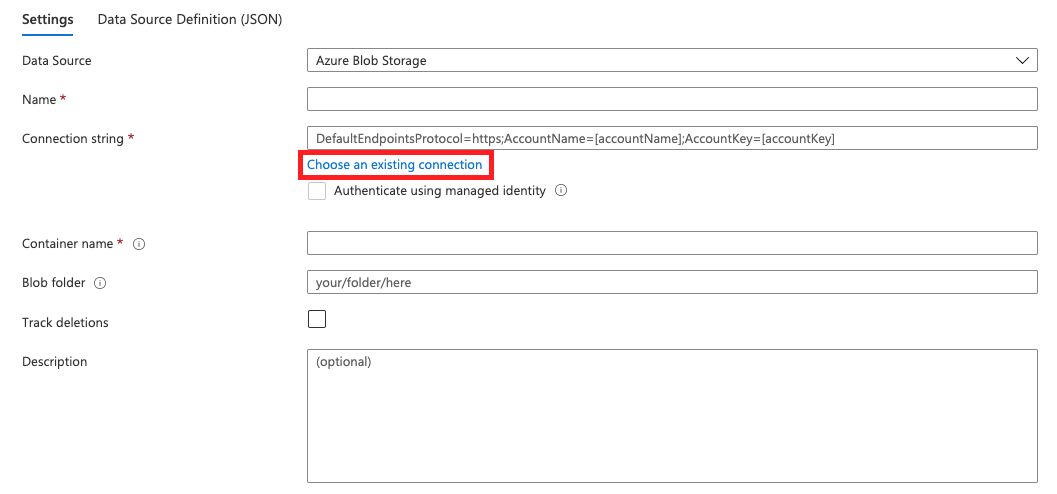 See the ‘Choose an existing’ connection option? Choose this option, to pick from other storage accounts you have access to. Then select the relevant container and confirm your choices.
You’ll need to name the data source - and then click Save.
Create your Search Index
Indexes are the main landing ground for all of the content that you’ll be ingesting. This is a critical point - and once you add a field to an index, or set certain settings, you’ll need to delete the whole index if you make a mistake. This isn’t an issue if you have a few documents indexed but is quite painful if you have thousands or more.
In a later blog post, I’ll show you how to use Pulumi and API calls to set this up.
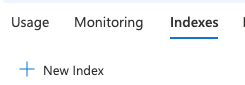
To create an index, click on the ‘Indexes’ tab and then ‘New Index.’
 Click on ‘New Index’ TODO: Add Caption
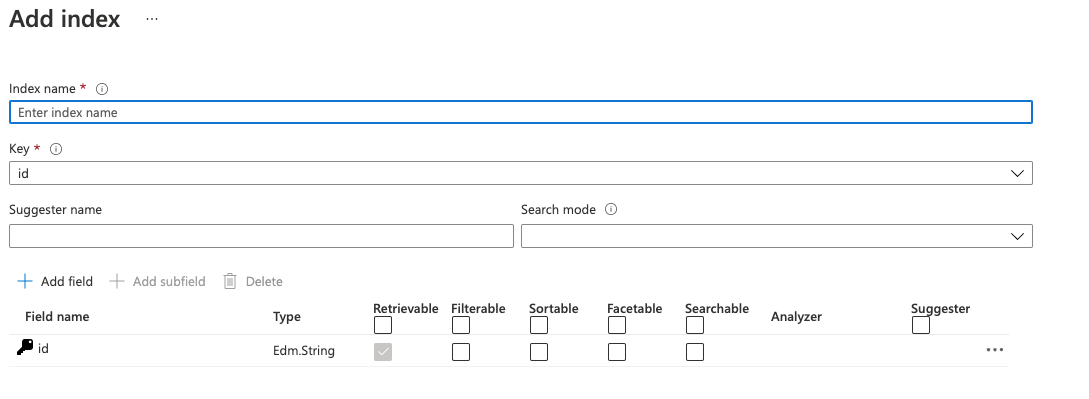
This will take you to a screen where you can add the various fields - that is, the column names, data types, and settings for your searchable content. This is the physical structure of your index.
 Your Add Index page TODO: Add Caption
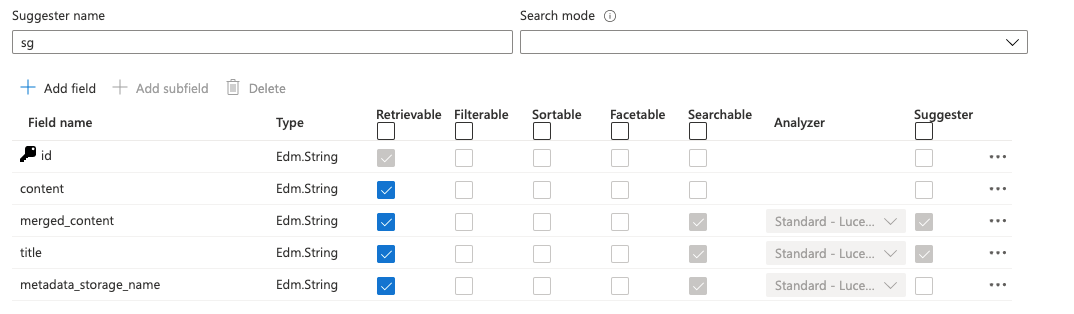
Some of these field attributes have important implications - the most interesting one that I’ll point out, is the “suggester.” This allows you to easily add auto-complete, and auto-suggested terms to your application.
For now, in my indexer, I’ve added fields to store the content, the legislation title, and the original file name.
 The inde TODO: Add Caption
In future, I can imagine wanting to store a summary of the file, maybe even index individual legislation paragraphs, or allow users to search legislation over time.
All of these scenarios are supported!
Create your AI Enrichment Skillset
The PDFs I’ve used are very image-heavy up until the start of the late 20th century laws. This is likely because legal texts pre-digitisation were scanned in from paper copies.
Because of this, we need to handle older PDF documents - pulling out the images - whilst indexing the text in new documents.
Cognitive Skills allow us to achieve this. We can use built-in skills from Microsoft, including Cognitive Services like Computer Vision, or key phrase extraction; as well as custom skills - like the use of Agolo for text summaries that I demonstrated previously.
The skillset I’ve created has two parts - part one will extract text (plain and structured) from images, and part two will merge all text into one field.
The skillset can be found in full below.
Start Indexing
There are a few different elements to creating an indexer. Microsoft’s guide is great for this, so I’ve listed the indexer JSON definition I used in full below, and explained some key sections.
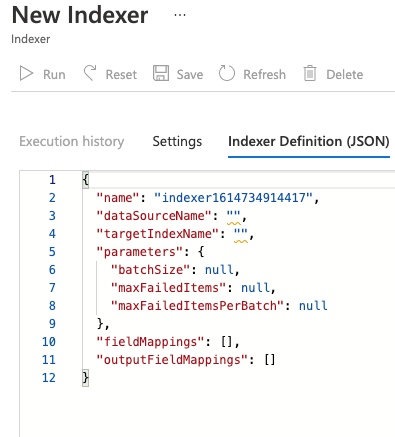
To create your indexer, click on ‘Indexers’ and then ‘New Indexer’.
This will take you to a screen where you can fill in a form, or you can paste in the definition for an existing definition from JSON.
 I assume you’ll open up the JSON tab too! TODO: Add Caption
By default, the existing definition is pretty plain, and it won’t use the AI skill we’ve already defined.
The most important parts that you might need to add, are:
skillsetName- this references the AI Enrichment Skillset we created beforeimageAction- by default, this is set to None. In our case, it’sgenerateNormalizedImages, which ensures we get back images for any PDFs that require this.outputFieldMappings- we need to make sure that themerged_contentfrom our AI Skillset is stored in index field I made earlier.
And here’s my definition in full.
When your indexer is set up in the way you’d like it, you’ll need to hit ‘Run’ - unless you’ve chosen to regularly schedule it, and this will populate your index.
 The magic button! TODO: Add caption
This will take a bit of time, influenced by the amount of data you have - and the user interface is pretty intuitive.
Make sure that you have uploaded some PDFs into the container for indexing!
Try it out!
 Click on your index, whatever you named it TODO: Add caption
After you leave your index to run, you should be able to return to the pane for your Search resource, and click on the ‘Index’ tab, and then the name of your index.
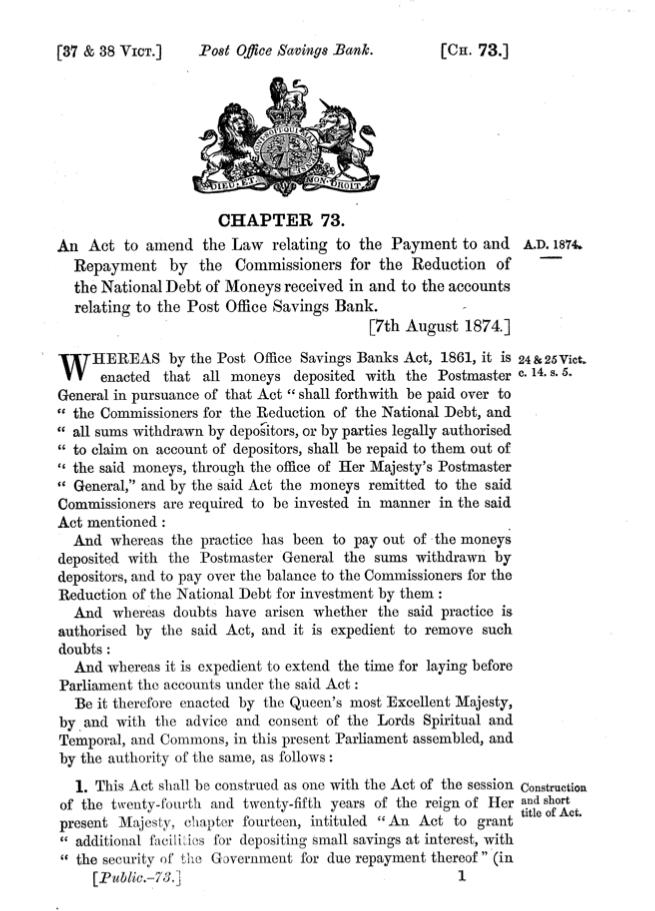
This will open a search explorer - feel free to search for terms and see what you get back! I got back some information about one of the finance bills I’d uploaded.
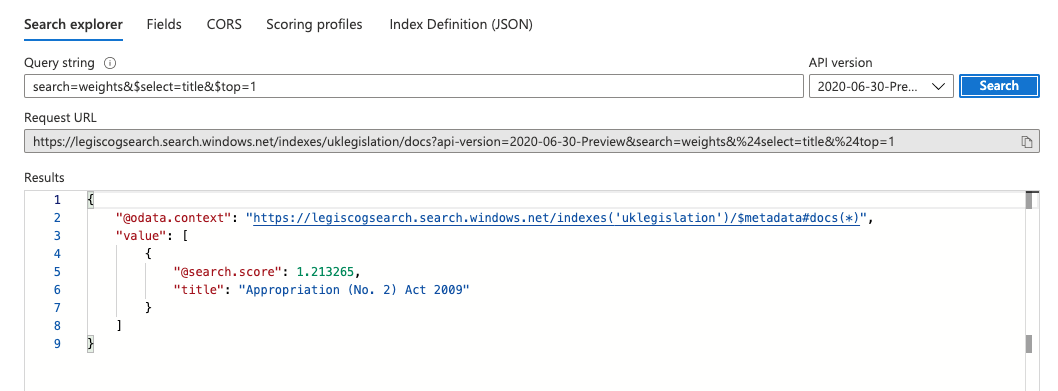 A result for ‘Weights’ returning a (slightly uninteresting) result on a finance act from the UK TODO: Add caption
Feel proud of yourself! You’ve set up and indexed some content, and you’re well on the way to making your information usable and accessible.
Next time
And there we have it! We have an index with some (hopefully useful) content, ready to be integrated into an application!
In the next post, I’ll be covering how to integrate Azure Cognitive Search with the screenshot of the Python Web Application you see above.
Sealjay-clj/py-cognitive-searchA demonstrator of the latest and greatest in Cognitive Search, deployed in Azure with Python. - Sealjay-clj/py-cognitive-search GitHubSealjay-clj